How to Adjust Laser Beam Nozzles for Optimal Cutting: Step-by-Step Guide
The cutting quality of a laser cutting machine is determined not only by the equipment's performance, but also by a critical adjustment made during daily operation: the concentric calibration of the laser beam and nozzle. If the laser of a fiber laser cutting machine deviates from the center of the nozzle, it will result in rough cross-sections, slag residue, and even equipment damage. This article will show you how to precisely position the laser beam and the nozzle to achieve the greatest cutting results.
1. Preparation for correction
Tool list
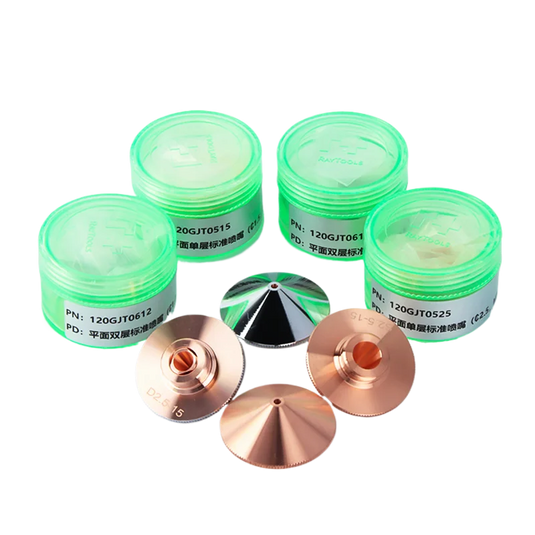
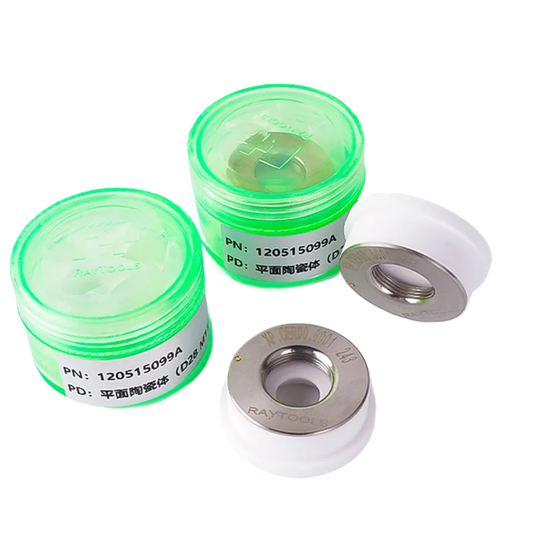
- Nozzle (use a tiny aperture nozzle, Φ1.0 - 1.5mm, for easier viewing
- Transparent tape/thermal paper (to capture laser spots)
- Hexagonal wrench (adjust the laser head mounting screw).
- Protective equipment (gloves and goggles)
Safe operation
- Turn off the power to the equipment and let the laser head to cool fully.
- To eliminate interference with observation, remove any leftover slag from the nozzle's surface.
2. Step-by-step adjusting procedure
Step 1: Red light location test
- Turn on the equipment's red light indicator feature (to imitate a laser path).
- Examine the projection of red light at the nozzle outlet:
- Ideal condition: The red light is consistently circular and centered on the nozzle hole.
- Deviation state: The red light is offset or elliptical and requires adjusting.
Step 2: Apply the test medium
- Place transparent tape (or thermal paper) under the nozzle, about 5 - 10mm away.
- To leave a spot on the tape, trigger the laser with a brief pulse (low strength).
Step 3: Calibrate the laser center
- Compare the location of the spot to the nozzle hole:
- If the spot is off - center, use a hexagonal wrench to fine - tune the laser head fixing screw (often the X/Y adjustment screw).
- Follow steps 1 - 2 after each adjustment until the spot is perfectly concentric with the nozzle hole.
Step 4: High - power verification
- Replace with a cutting nozzle (often Φ2.0mm or larger).
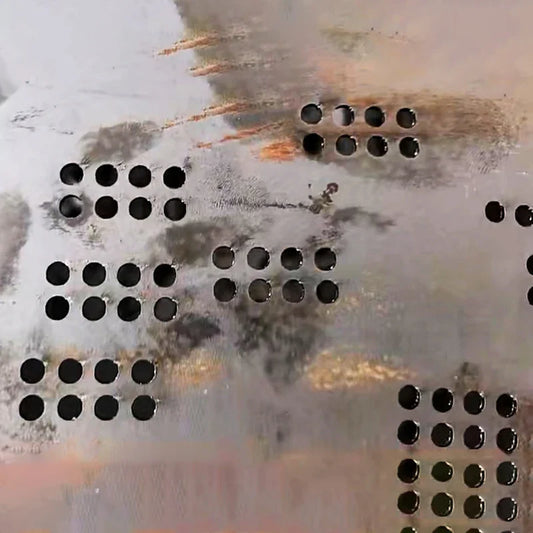
- Make a trial cut (stainless steel plate is recommended) to check the cut uniformity and slag residue.
3. Precautions
- Selecting a narrow aperture nozzle (e.g., Φ1.0mm) can increase calibration accuracy while preventing slag formation from inadequate gas flow.
- To ensure accurate calibration results, keep the workbench level.
- Regular maintenance: Check nozzle wear regularly and replace if distorted or swollen.
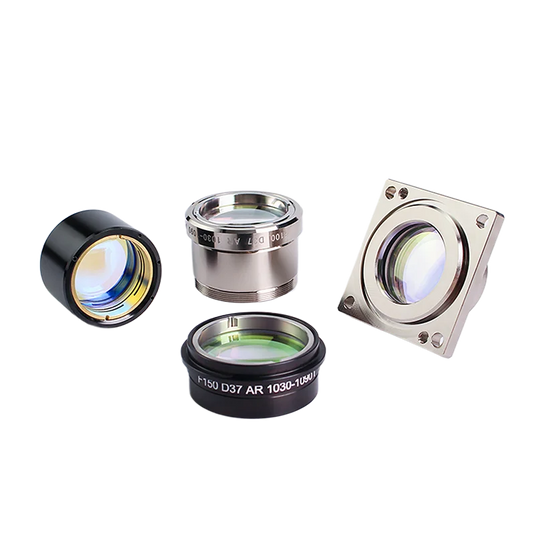
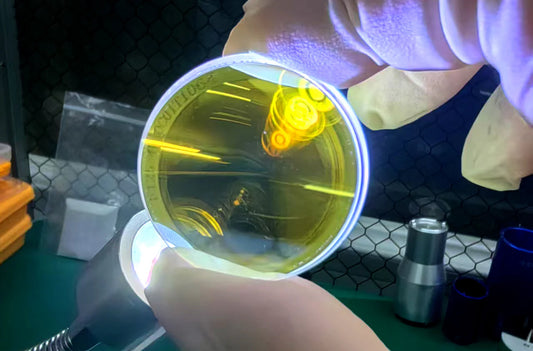
- To keep dust out of the laser path, clean the focusing lens once a month.

4. Common Problem Handling
|
Problem
|
Possible causes and solutions
|
|
Serious burrs on one side of the incision.
|
The laser deviates towards one side of the nozzle. Recalibrate the X/Y axis offset.
|
|
The nozzle regularly touches the plate when cutting.
|
The nozzle height is too low, or the laser center is shifted. Adjust the Z - axis height and verify the coaxiality.
|
|
Poor auxiliary gas impact.
|
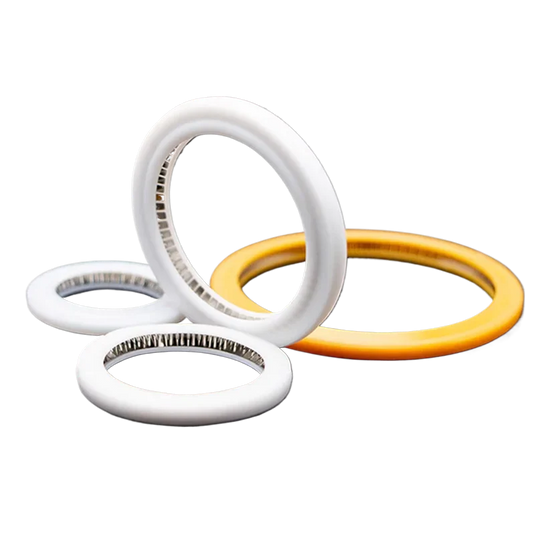
The nozzle is not tightened or the seal has aged. Replace the seal, and tighten the nozzle.
|
5. Optimization tips
- Automated calibration: High - end equipment can be outfitted with a CCD vision system that automatically compensates for discrepancies using software.
- Operation training: New workers must understand the idea of red light centering in order to avoid depending on trial cutting adjustments.
Operators can use the above organized changes to rapidly discover faults and precisely conduct calibration, increasing cutting quality and equipment life. To guarantee production consistency, this step should be included in the equipment's daily inspection schedule.
6. Daily maintenance suggestions
- Weekly inspection: Clean the nozzle's inner wall to prevent rust and distortion.
- Monthly calibration: Repeat the concentric calibration process to prevent device vibration and deviation.
- Consumable replacement: The nozzle typically lasts 3-6 months. If it has become worn, replace it immediately. If you need OEM-complicable nozzles, you could visit PENDSTAR shops. Buy in bulk? Please contact us directly to obtain the wholesale pricing.
Summary
The most important operation for improving cutting quality is accurate laser beam and nozzle calibration. The transparent tape test technique, parameter matching, and regular maintenance may not only extend the life of the equipment, but also greatly increase production efficiency. Collect this guide today to add professional-level optimization methods to your laser cutting process

