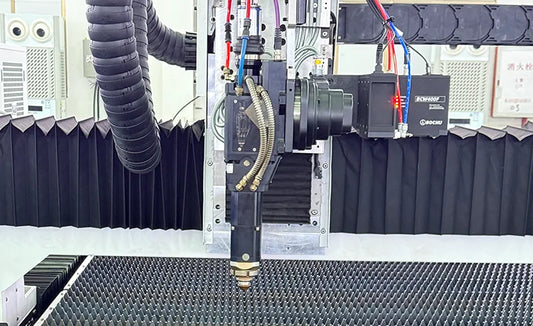
How to Clean Fiber Laser Cutting Head Optics: A Step-by-Step Guide
Introduction
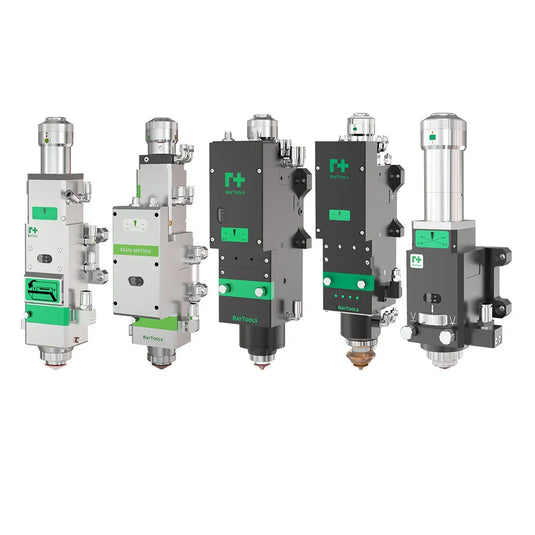
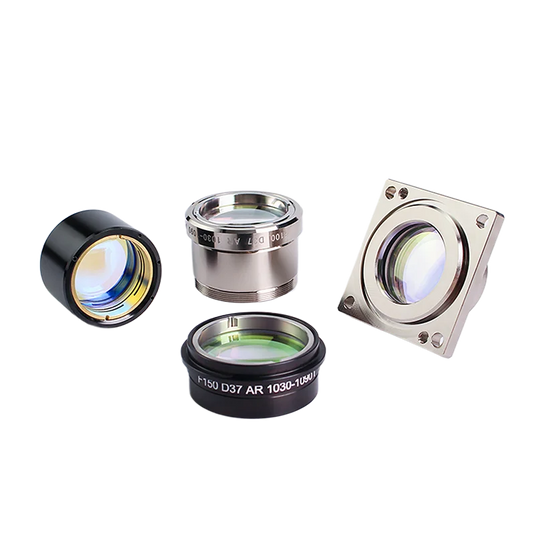
The purity of the optics in the cutting head determines quite much the quality of cuts in fiber laser cutting. Among the several issues dirty optics might bring about are low beam quality, energy loss, and less cutting efficiency. Dust, splatter, and other pollutants that build up on the cutting head's lenses and mirrors can scatter or absorb the laser beam, producing uneven cuts, rough edges, and sometimes even improper material cutting capability. Regular optical cleaning guarantees correct laser beam focus, therefore optimizing cutting power and raising the general quality of the produced goods. Along with saving time and resources, this increases the lifetime of the laser system and cutting head overall.
Tools Needed
- Lint-free wipes are necessary for cleaning the optics without leaving any fiber or debris that can further taint the lenses. Search for wipes intended especially for optical cleaning.
- Isopropyl ethanol: Excellent for cleaning lenses of grease, oil, and other pollutants, high-purity isopropyl alcohol should ideally be 99.5% or higher. It leaves no residue and dissipates fast.
- Compressed air: Although compressed air should be used carefully, it can help to gently blow away loose dust particles before applying the wipes. Verify the cleanliness and moisture free nature of the compressed air source.
- Gloves with anti-static properties: Anti-static gloves help avoid the build-up of static charge when handling optical components, therefore preventing the attraction of dust and damage of delicate optical surfaces.
- Microscope: Examining the optics for contamination calls for a microscope—ideally with 20x magnification or higher. It lets you find even the tiny particles and scratches that would not be obvious to the unaided vision.
Step 1: Remove the Nozzle and Protective Lens
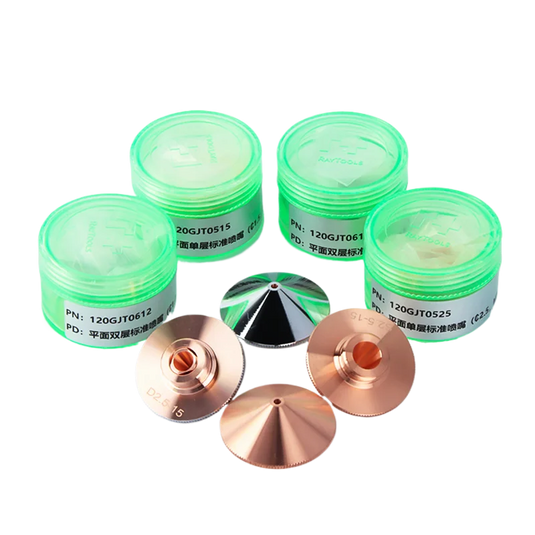
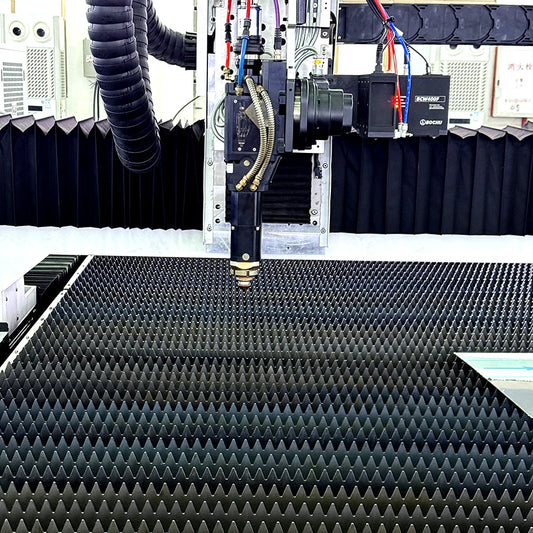
To prevent any potential safety risks, always turn off the laser and disconnect the power before beginning the clean process. Don your anti-static gloves to guard the optical components against static-induced damage and fingerprints. Carefully remove the nozzle from the cutting head using the suitable tools, often a wrench or a specialist removal tool. To stop the nozzle from becoming contaminated or damaged, put it in a clean, secure location.
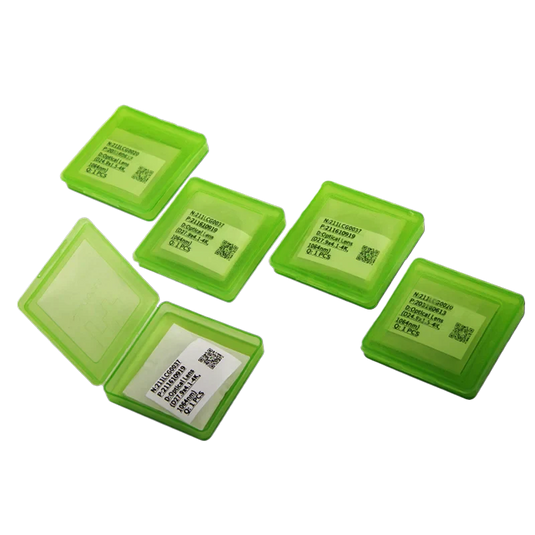
Change the protective lens next. While certain protective lenses may be fastened by a snap-on or magnetic system, others may be kept in place with screws. To gently remove the lens for your particular cutting head model, follow manufacturer directions. Once taken off, treat the lens extremely gently since it is quite fragile. Your fingertips should not touch the lens's surface since the oils from your skin could leave marks and draw dust.
Step 2: Inspect for Contamination
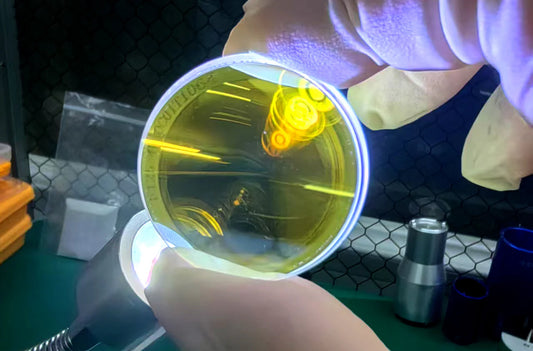
Under the microscope, lay the removed lens. Search closely for any evidence of splatter, dust, or scratches. While splatter from the cutting process can seem as irregularly shaped deposits, dust particles might seem as tiny, black specks. Should they exist, scratches will show up on the lens's surface as thin lines. Should you discover any dark areas, this is unmistakable sign of pollution.
It should be emphasized that the performance of the laser beam can be considerably influenced by even a minor degree of contamination. Should the pollution be serious and deep scratches cannot be healed, it could be required to clean the lens several times or perhaps replace it.
Step 3: Clean the Lens
Soak a lint-free wipe 99.5% isopropyl alcohol. Make sure the wipe isn't too saturated because extra alcohol could damage other components if it drips over them. Holding the lens firmly but gently with your gloved fingers, start spiralling clean the lens from the centre toward the periphery. This spiral structure helps to stop contaminant pushing back onto the lens surface.
Steering clear of circular motions will help to prevent lens streaks. Under a microscope, closely check the lens after every wipe to find whether the pollution has been eliminated. Use a new area of the wipe or another fresh wipe to keep cleaning if particles or markings remain. Since best cutting performance depends on a clean lens, be patient and meticulous throughout this process.

Step 4: Reassemble and Test
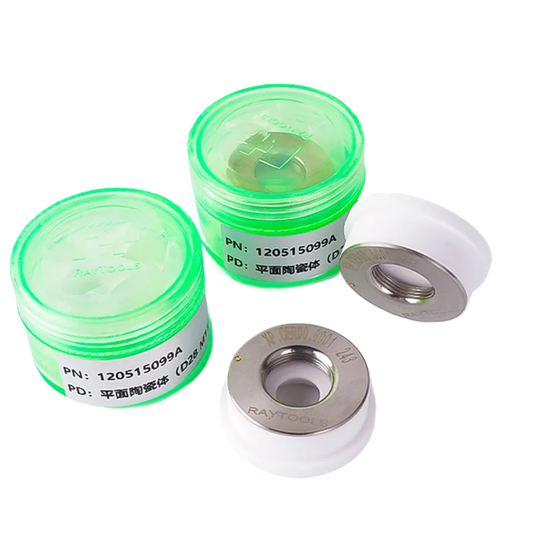
After you know the lens is clean, gently reinstall the cutting head. Reversing the protective lens will help to guarantee that it is correctly seated. If screws or other locking mechanisms exist, carefully tighten them but avoid overtightening since this will break the lens. Reattach the nozzle to the cutting head, being sure it is firmly fixed.
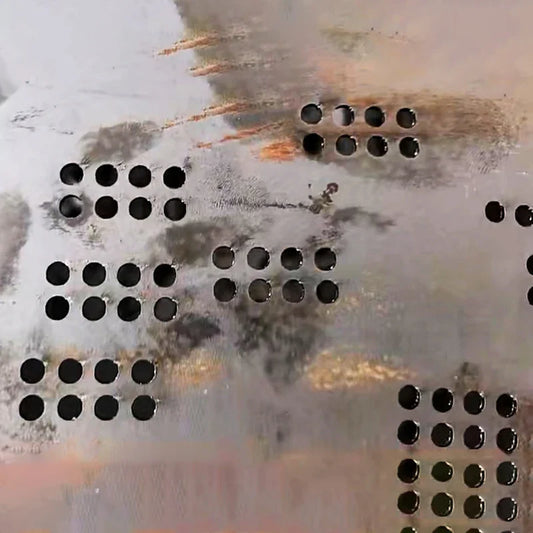
Testing the cutting head comes next following reassembly. On a piece of thin steel or a such material, do a test cut. Look at the cut's quality. Clean and smooth edges suggest that the cleaning operation went well. On the other hand, jagged edges or evidence of unequal cutting could indicate that some residual dirt remains on the optics or that beam alignment has been altered. In this situation, you might have to clean again or check the beam alignment with the right alignment instruments and techniques.
Common Mistakes
- Using abrasive materials: One of the most often occurring errors is cleaning the optics with abrasive agents. The sensitive surface of the lenses and mirrors might be scratched by abrasive wipes or equipment, therefore affecting the laser beam quality. Use lint-free, non-abrasive wipes intended especially for optical cleaning always.
- Skipping inspections: Ignoring the examination phase could result in unappreciable damage or contamination. The cutting performance could be affected by minute particles or scratches even if the lens seems clean to the unaided sight. The cleaning method depends critically on a microscopic inspection of the optics.
- Using compressed air improperly: As said before, if done improperly, using compressed air next to open optics can be hazardous. Directly blowing air onto the optics might force trash into sensitive places, causing additional issues. Should you use compressed air, be sure it is low pressure and that you are blowing the air from a safe distance and at an angle to avoid forcing debris onto the optics.
How often should I clean the fiber laser cutting head optics?
One of the most important maintenance chores directly affecting the machine's performance and cutting quality is cleaning the fiber laser cutting head optics. Although numerous factors affect the recommended cleaning frequency, a basic rule is to wash the lenses at least once a month. Here is a closer examination of the factors affecting this cleaning frequency:
Cutting Volume and Intensity
- High-volume production: The optics of your fiber laser cutter are more likely to gather dust, splatter, and trash if it is constantly running for long hours daily cutting big amounts of materials. Under such circumstances, you might have to clean the lenses one to two weeks apart.
-
Low-volume or sporadic use: Monthly cleaning can be plenty if the laser cutter is used less often, maybe for prototyping or small-batch manufacturing.
Type of Materials Cut:
- Reflective or highly reactive materials: Spatter and reflected laser light damage the optics more readily when cutting materials such as copper, aluminium, or highly reactive metals. In this instance, weekly or even more frequent cleaning of the optics could be needed.
-
Standard resources: Usually, monthly cleaning is sufficient for common materials like mild steel or stainless steel.
Environmental Aspects:
Environmental Conditions:
- Dusty or dirty environments: The optics will gather dust more rapidly if the laser cutter is situated in a dusty workshop or surroundings with high particulate matter content. Cleaning every one to two weeks is advised in such circumstances.
- Clean and well-ventilated environments: Optics may stay cleaner for longer in a spotless, well-ventilated environment. It's necessary to routinely check for any indications of contamination, even if monthly cleaning is sufficient.

Apart from adhering to a consistent cleaning routine, one should be alert and search for indicators suggesting the requirement of cleaning the optics. These indicators show a rise in the power needed to make cuts as well as a decline in cutting quality including rough edges, burrs, or uneven cut depths. Regardless of when the previous cleaning was done, if you observe any of these issues, you should clean the optics right away.At last
It is advised to arrange monthly cleaning of the cutting head optics to preserve the cutting precision and stop power loss in your fiber laser cutting machine. Apart from enhancing the quality of the cuts, regular cleaning increases the lifetime of the optical components. Following the detailed step-by-step advice in this article and avoiding frequent mistakes will help you to guarantee that your fiber laser cutting head is always in ideal condition, ready to provide maximum efficiency and high-quality cuts.
Keep Your Operations Running Smoothly with Pendstar!
As a trusted leader in laser cutter parts and consumables for 20+ years, we deliver 100% genuine original replacements with 3-day shipping from our global warehouses. Partnered with RAYCUS, BOCHU, MAX, WSX, and other 30+ top brands, we guarantee compatibility, quality, and rapid solutions for every repair. Whether you’re in the USA, Germany, Italy, Turkey, Brazil, or elsewhere, our localized service teams provide on-site maintenance or remote diagnostics 24/7.
Need urgent support? Contact our local teams now or schedule a online consulation.
Shop Reliable Parts Today → | Get Expert Help →
Backed by 20 Years of Laser Expertise – Your Trusted Partner in Precision Cutting Solutions.
Conclusion
To maintain the cutting precision and prevent power loss in your fiber laser cutting machine, it is recommended to schedule monthly cleaning of the cutting head optics. Regular cleaning not only improves the quality of the cuts but also extends the lifespan of the optical components. By following the step-by-step guide outlined in this article and avoiding common mistakes, you can ensure that your fiber laser cutting head is always in optimal condition, ready to deliver high-quality cuts with maximum efficiency.

