How to Replace Protective Lenses for Fiber Laser Cutting Head
I. Preparation
Tools and Materials
- 98% or more anhydrous alcohol, dust - free towel, and dust - free cotton swab
- Masking paper, hex wrench, and lens locking tool
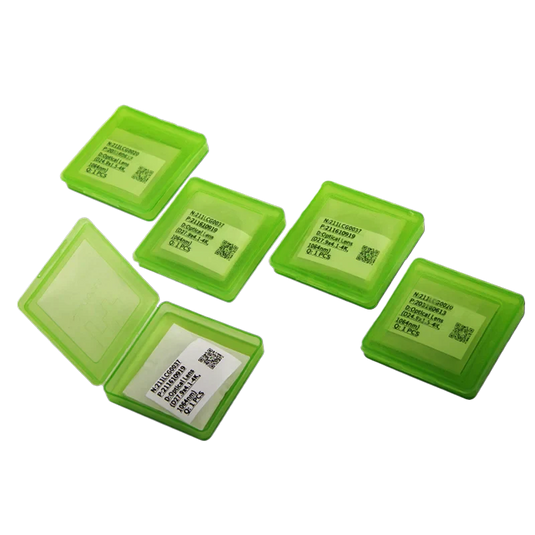
- New protective lenses (original or certified brand is suggested)
- Rubber gloves (to keep grease from contaminating the lens)
II. Operation Steps
Turn off and clean the equipment
- To guarantee safe operation, turn off the power to the laser cutting equipment.
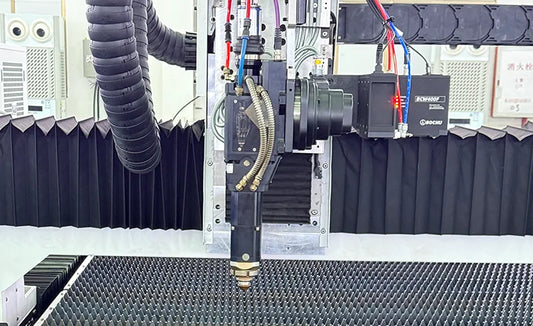
- To prevent dust from entering the cavity, clean the exterior of the cutting head and surrounding the mirror chamber with a dust - free cloth soaked in alcohol.
Remove the old lens
- To keep dust out, temporarily seal the cutting nozzle's entrance using masking paper.
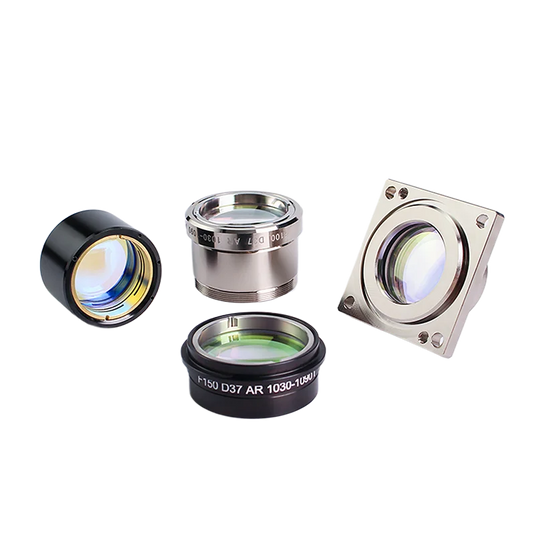
- Using a hexagonal wrench, remove the mirror chamber fastening screws and carefully remove the protective lens plug.
- Rotate the locking tool counterclockwise to remove the old lens, then set it on the dust - free towel.
Clean the mirror chamber and plug
- Dip a dust - free cotton swab in alcohol and carefully clean the interior of the plug and mirror chamber cavity to remove any remaining contaminants.
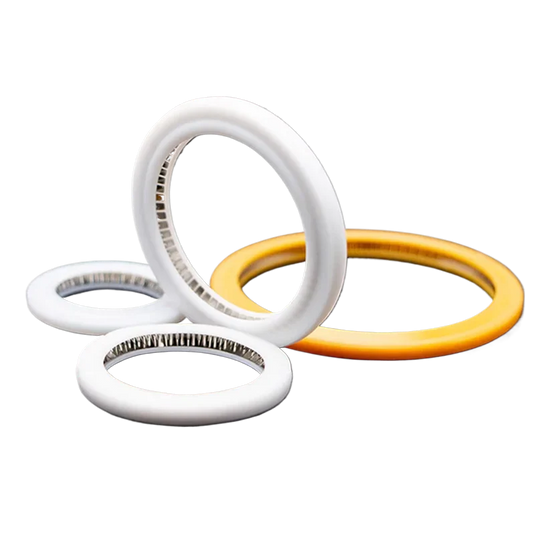
- Check to see if the sealing ring has aged or is loose. If there is a problem, replace it promptly.
Installing a new lens
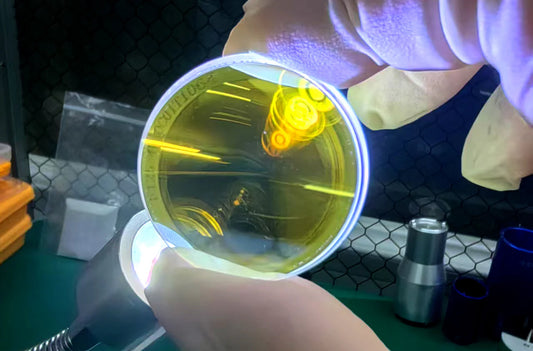
- Hold the edge of the replacement lens (without contacting the coated surface), pull off the protective film on one side, and insert it into the plug.
- Flip the plug, remove the protective film on the other side, then insert the pressing piece and locking ring in turn, locking it clockwise with a tool.
- Ensure that the lens fits snugly with the plug, with no tilting or looseness.
Reset and Test
- Remove the masking paper, smooth the plug into the lens chamber, and tighten the fixing screws.
- Turn on the equipment for optical path calibration and see if the cutting effect returns to normal.

III. Precautions
Environmental requirements
- To avoid ventilation and dust, the operation must take place in a dust - free atmosphere.
- Wear gloves during the operation to keep perspiration and oil from contaminating the lens.
Lens Handling
- Touching the lens surface with sharp equipment, such as tweezers, is banned.
- To prevent scratches, the lens must be temporarily housed on special lens paper.
Maintenance suggestions
- Check the lens for contaminants on a regular basis. Minor stains can be removed using the recommended method (acetone or diluted white vinegar).
- If the film peels off, there is metal residue, or the lens has major scratches, it should be changed right away.
IV. Common Problem Handling
- Cutting quality degradation may occur as a result of lens contamination or faulty installation, necessitating re - cleaning or inspection.
- Lenses are frequently damaged. Determine whether the optical path is skewed or whether non - standard lenses are utilized.
Standardized operation and regular maintenance may effectively increase the service life of the protective lens, ensuring the laser cutting machine's steady functioning.
Standard operation and frequent maintenance are required to preserve the life of the protective lens and the laser cutting machine's stability. The protecting lens is a consumable item that must be updated on a regular basis to ensure optimal cutting performance.
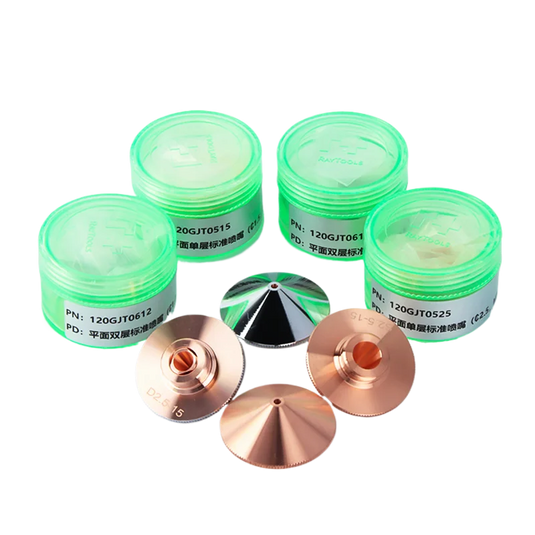
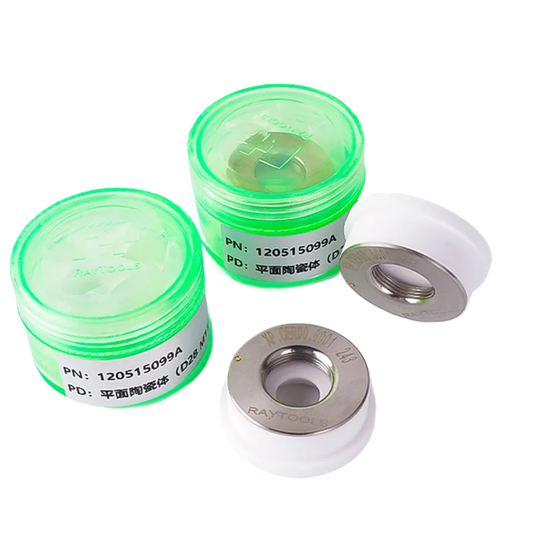
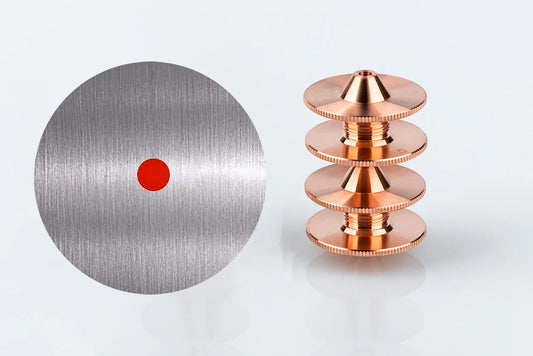
You may simply get high-quality protective lenses from the PENDSTAR online shop. In addition to protective glasses, we sells a number of additional consumables, including nozzles and ceramic rings. If your equipment malfunctions and requires immediate attention, contact our skilled engineers for a Online Consultation. We are always available to assist you and resolve any issues in a fast and effective manner.

