How to Make Your Own Laser Tube Cutting Machine for Any Budget
How to Make Your Own Laser Tube Cutting Machine for Any Budget
Building your own DIY laser tube cutting machine is possible no matter your budget. Many makers choose this path for several reasons:
- You can save money compared to buying expensive industrial machines.
- Customization lets you pick the wattage, working area, and software that fit your needs.
- You get hands-on experience with optics, electronics, and programming.
- You gain flexibility, making it easy to upgrade or swap out parts later.
Think about what you want to achieve. This project gives you the freedom to create a tool that matches your goals.
Key Takeaways
- Set clear goals and choose a budget tier that fits your needs before building your laser tube cutting machine.
- Select quality components like laser source, motion system, and chucks based on your project requirements and budget.
- Follow step-by-step assembly instructions carefully, including frame building, wiring, software setup, and thorough testing.
- Always prioritize safety by using proper protective gear, maintaining good ventilation, and installing safety features.
- Perform regular maintenance and troubleshooting to keep your machine reliable and achieve professional cutting results.
Planning
Setting Goals
Before you start building your laser tube cutting machine, you need to set clear goals. Ask yourself what you want to achieve with your machine. Are you planning to use it for personal projects, small business production, or full-scale industrial work? Your answer will guide your choices for power, size, and features.
Tip: Write down your main needs, such as the types of materials you want to cut, the thickness of those materials, and how often you plan to use the machine. This list will help you stay focused as you plan your build.
Pendstar Laser offers a range of configurations for different needs. You can choose from simple manual chucks for garage projects or advanced pneumatic chucks for commercial use. The flexibility lets you match your machine to your goals.
Expectations
You should set realistic expectations for your project. Entry-level machines offer good precision but have limited speed and power. Mid-range machines provide more power and some automation, which increases productivity. High-end machines deliver advanced features, faster speeds, and can handle thicker materials.
- Lower-powered lasers work well for thin or delicate materials.
- Higher-powered fiber lasers cut thick metals quickly and cleanly.
- Budget machines may have fewer safety features and shorter lifespans.
- Investing in quality parts and after-sales support, like those from Pendstar Laser, improves reliability and performance.
By planning carefully and choosing the right budget tier, you can build a laser tube cutting machine that fits your needs and delivers the results you want.
Components
Building a DIY laser tube cutting machine requires several essential parts. Each component plays a key role in the machine’s performance, reliability, and safety. You can choose from budget-friendly or high-end options, depending on your needs and goals. Pendstar Laser provides a detailed checklist and multiple configurations for every budget.
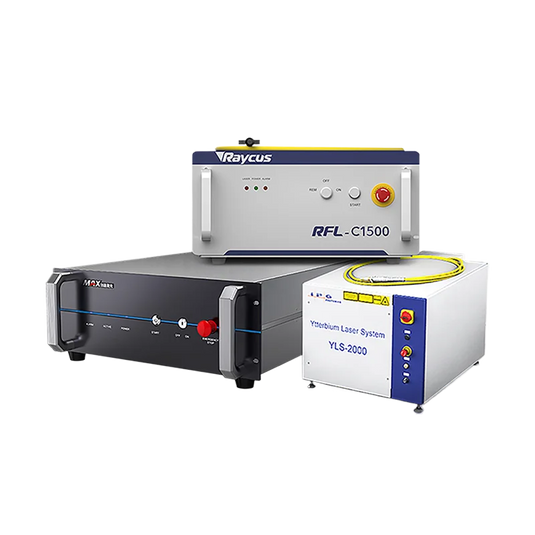
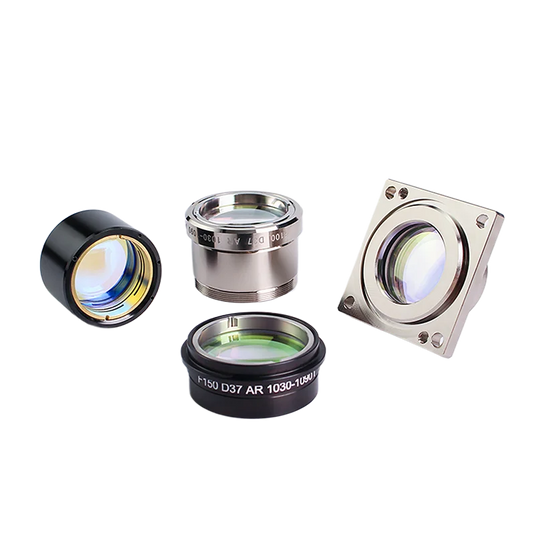
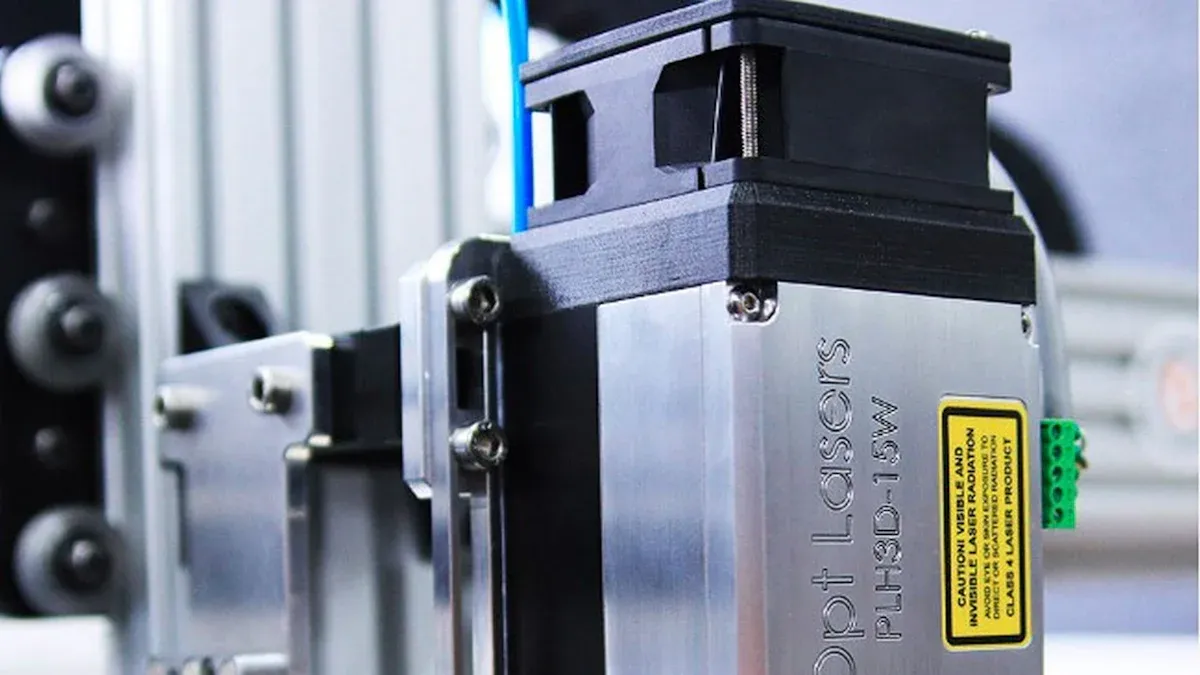
Laser Source
The laser source is the heart of your machine. It determines what materials you can cut, how fast you can work, and the overall quality of your results. You will find three main types of laser sources for tube cutting:
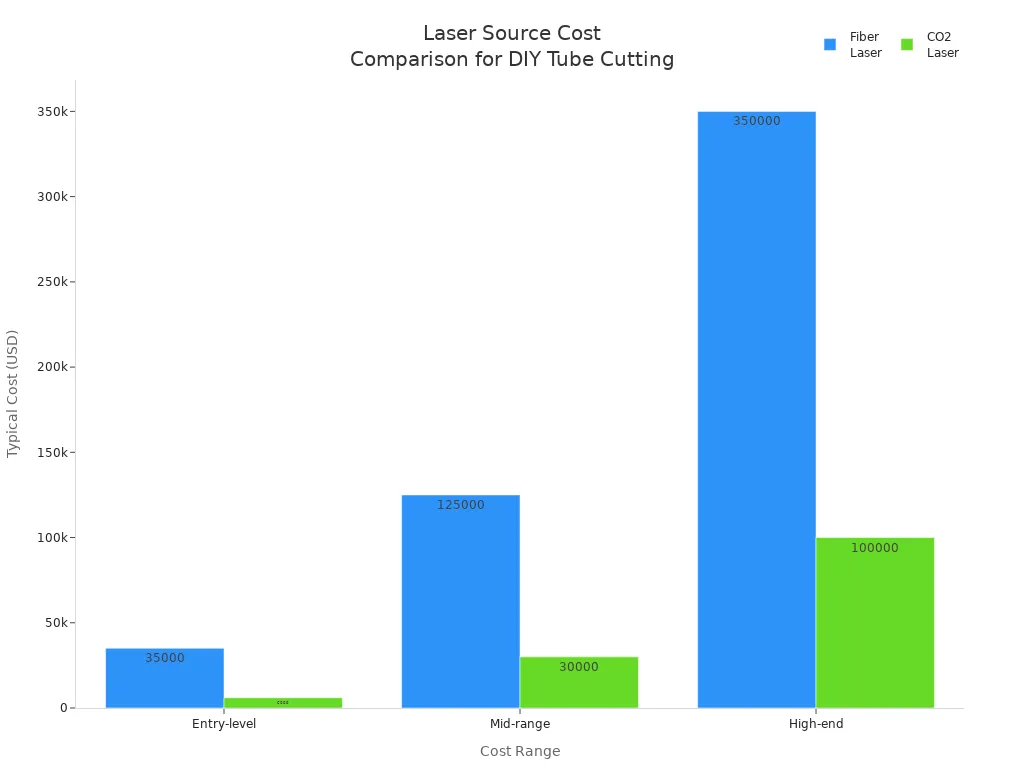
| Laser Type | Typical Power Ratings | Cost Range (USD) | Notes |
|---|---|---|---|
| Fiber Laser | 1kW to 6kW | $20,000 - $500,000+ | High precision, energy efficient, lower maintenance, best for metal tubes |
| CO2 Laser | Varies, generally lower | $2,000 - $100,000+ | Good for non-metals, hobby use, less efficient for metals |
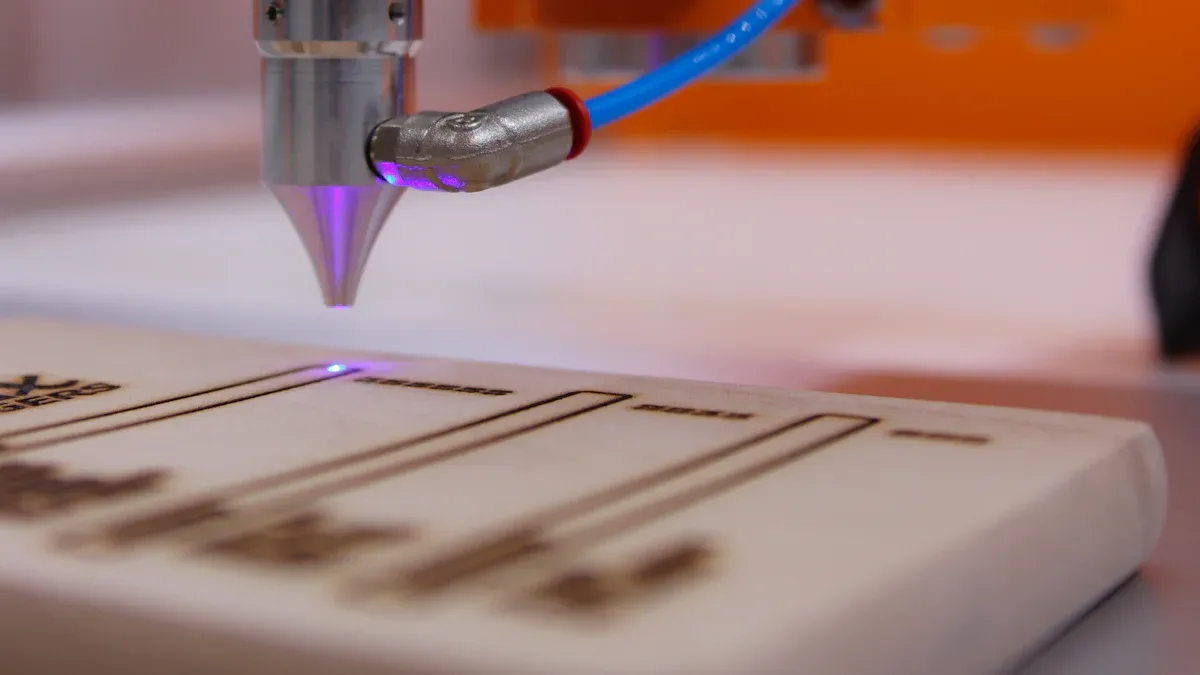
| Diode Laser | Not specified | More economical, less versatile | Mainly for engraving, limited cutting ability |
Fiber lasers are the most popular choice for metal tube cutting. They offer high precision, energy efficiency, and lower maintenance costs. You can select power levels from 1kW up to 6kW, depending on the thickness and type of tube you want to cut. CO2 lasers cost less and work well for non-metal materials, making them suitable for hobbyists. Diode lasers are best for engraving or marking.
Pendstar Laser offers reliable fiber laser sources from trusted brands like Raycus and Maxphotonics. You can match the laser power to your budget and cutting needs.
Motion System
The motion system moves the laser head and the tube with precision. You can choose between stepper motors and servo motors. Each type has its own strengths:
| Aspect | Servo Motor | Stepper Motor |
|---|---|---|
| Precision | Up to 0.002 micrometers accuracy | Up to 0.01 millimeters accuracy |
| Feedback System | Includes sensors for position correction | No feedback, lower precision |
| Speed | Up to 1000 rpm, high-speed applications | Up to 120 rpm, lower speed |
| Price | More expensive | More affordable |
| Typical Use | High-precision metal cutting | Hobby CNC, less demanding tasks |
Servo motors provide higher accuracy and speed, making them ideal for professional and industrial builds. Stepper motors cost less and work well for entry-level or hobby projects. Pendstar Laser includes high-quality servo packs in their advanced configurations, ensuring smooth and precise movement.
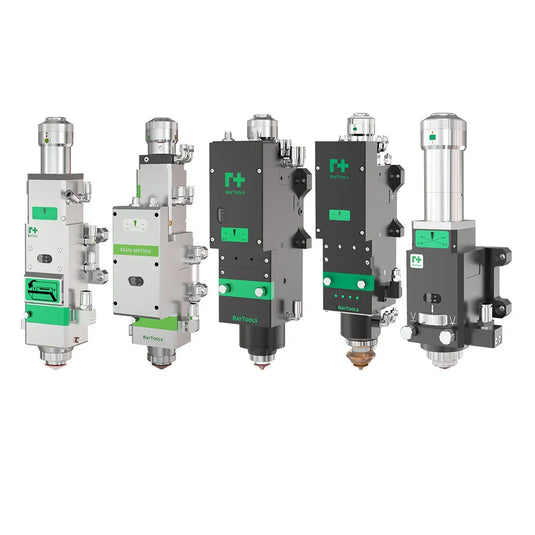
Chucks & Rotary Units
Chucks hold and rotate the tube during cutting. The type and number of chucks affect stability, accuracy, and tail waste. Here are the main options:
- Manual chucks: Simple and affordable, good for garage projects.
- Pneumatic chucks: Use air pressure for quick and firm clamping, ideal for commercial use.
- Hydraulic chucks: Offer strong clamping force and stable rotation, best for heavy-duty tasks.
- Electric chucks: Automatically adjust to tube size and shape, improving efficiency.
You can also choose between three-jaw and four-jaw chucks. Three-jaw chucks work well for round tubes, while four-jaw chucks handle irregular shapes and allow for zero tail waste. Multi-chuck systems (three or more chucks) provide extra support for long or heavy tubes, reducing vibration and improving cutting accuracy. Pendstar Laser offers double pneumatic chucks for commercial builds and manual chucks for budget-friendly setups.
Tip: The right chuck setup improves cutting precision and reduces material waste.
Frame & Structure
The frame supports all components and keeps the machine stable. You should use strong materials like steel or aluminum for the frame. A rigid structure prevents vibration and misalignment during cutting. Pendstar Laser’s DIY kits include robust frames that you can assemble easily. You can also customize the frame size to fit your workspace and tube length requirements.
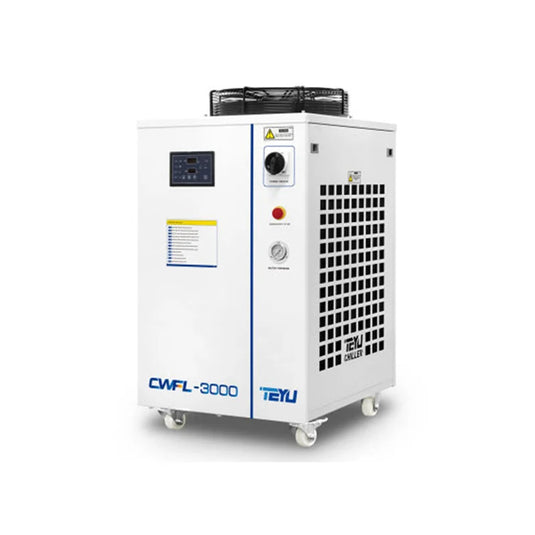
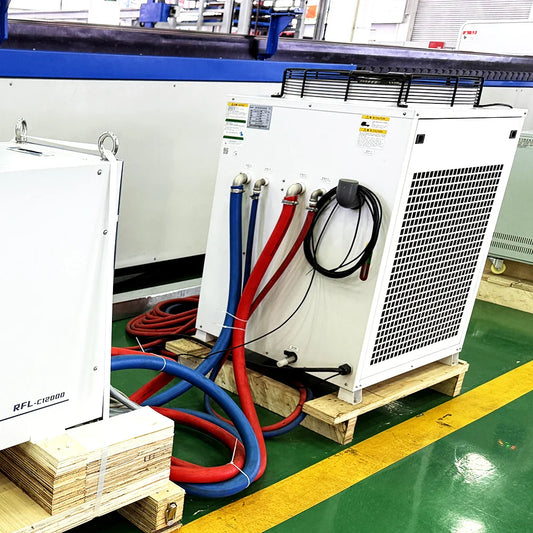
Power & Cooling
A reliable power supply and efficient cooling system keep your machine running safely. The power supply must match the voltage and phase requirements of your laser source and motors. Most machines use 110V to 380V, with single-, two-, or three-phase options. Always check with the manufacturer for correct wiring.
For cooling, compressor-based water chillers work best. They keep the laser tube at the right temperature and prevent overheating. Choose a chiller with enough capacity for your laser’s power rating. For example, a 1kW fiber laser needs a chiller rated for at least 5-6kW of cooling. Keep the water temperature between 18°C and 20°C. Pendstar Laser includes high-quality chillers and voltage stabilizers in their packages to protect your investment.
- Use proper flow rates: 1 liter/minute for low power, 2 liters/minute for higher power.
- Avoid air pockets in the cooling system.
- Upgrade the cooling system if you increase laser power later.
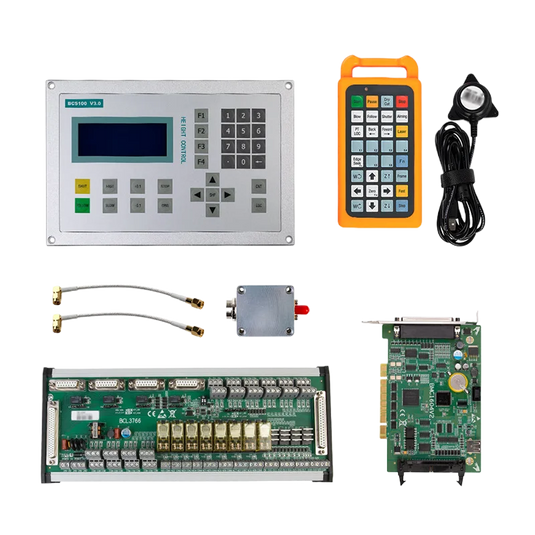
Control & Software
The control system and software manage every aspect of your DIY laser tube cutting machine. You need a controller that matches your laser type and supports your workflow. Popular options include Ruida (proprietary), Makerbase DLC32 (open source), and Baichu 5000A. Each has different features and compatibility.
You should look for software that:
- Imports CAD/CAM files directly (.dxf, .stp, .igs)
- Optimizes cutting paths and speeds
- Supports Z-axis control (manual or motorized)
- Adjusts laser power and assist gas automatically
- Simulates and verifies toolpaths before cutting
Pendstar Laser provides advanced software like FSCUT3000S and XC4000 T2, which offer smart features for precise and efficient operation. These platforms help you achieve professional results, even if you are new to CNC or laser cutting.
Note: Quality control systems and software improve accuracy, reduce errors, and make your machine easier to use.
When you select each component, consider your budget, cutting needs, and future upgrade plans. Investing in quality parts ensures your DIY laser tube cutting machine will deliver reliable and safe performance for years to come.
DIY Laser Tube Cutting Machine Build Steps
Building your own DIY laser tube cutting machine involves several key stages. You will start with the frame, add components, wire everything together, set up the software, and finish with testing. Follow these steps to ensure a smooth assembly process.
Frame Assembly
Start by assembling the frame. Use aluminum extrusions or steel profiles to create a stable rectangular base. Secure the corners with screws and brackets. Make sure the frame sits level on the ground. A strong frame prevents vibration and keeps your machine accurate during cutting.
Tip: Double-check all measurements before tightening bolts. A square and level frame makes later steps much easier.
Pendstar Laser provides robust frame kits and detailed assembly guides. You can adjust the frame size to fit your workspace or the length of tubes you plan to cut.
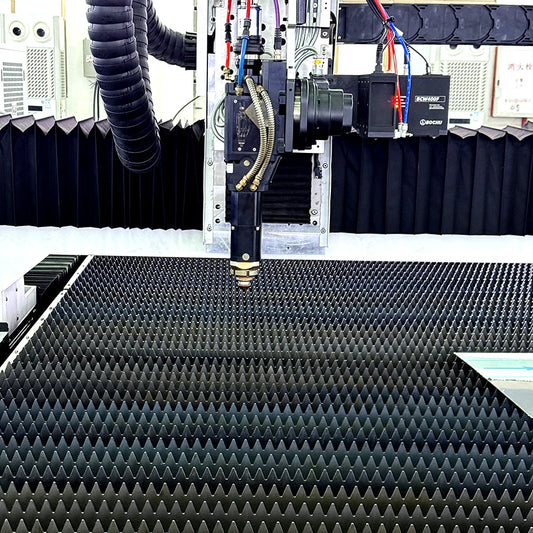
Installing Components
Once the frame is ready, install the main components:
- Motion System: Attach linear rails and guides to the frame. Mount servo motors or stepper motors for the X, Y, and Z axes. Use a Z-axis slide table for smooth height adjustment of the cutting head.
- Laser Source: Mount the fiber laser source, such as Raycus or Maxphotonics, in a secure location. Connect the laser head to the motion system.
- Chucks & Rotary Units: Install the chucks that will hold and rotate your tubes. Double pneumatic chucks work well for commercial builds, while manual chucks suit garage projects. Make sure the chucks align with the cutting path.
- Auxiliary Systems: Set up the gas control system for oxygen, nitrogen, or air. Install air compressors and ensure all hoses meet pressure and cleanliness standards.
- Cooling System: Place the water chiller near the laser source. Connect the cooling lines and check for leaks.
Note: Clean and lubricate moving parts before operation. Proper alignment of lenses and nozzles ensures precise cutting.
Pendstar Laser’s documentation includes checklists for each component, helping you avoid common mistakes.
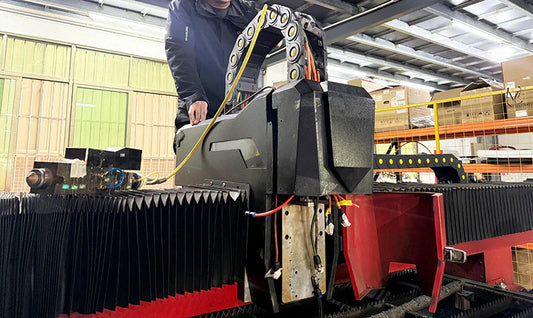
Wiring & Integration
Careful wiring and integration keep your DIY laser tube cutting machine safe and reliable.
- Organize cables using channels or guides, especially on moving parts.
- Connect the laser tube to its power supply. Use DIN terminal blocks for distributing power to motors and controllers.
- Ground the high-voltage components to prevent electrical hazards.
- Install safety circuits, such as door switches and emergency stop relays, to cut power instantly if needed.
- Integrate the auxiliary gas control system using proportional and solenoid valves for precise gas flow.
- Mount all electronics inside a protective enclosure to shield them from dust and accidental contact.
Safety Alert: Always turn off the main power before working on wiring. Wear insulated gloves and use a multimeter to check connections.
If you need help, Pendstar Laser offers technical support and wiring diagrams for different configurations.
Software Setup
After hardware assembly, set up the control software:
- Install the laser cutting software on your computer. Update all drivers.
- Connect the machine to your computer using USB or Ethernet.
- Load your design files (such as DXF or SVG) into the software.
- Use manufacturer presets for initial configuration.
- Adjust the laser head height with a gauge.
- Run the calibration tool to align the laser beam path.
- Perform a test cut on scrap material to check accuracy.
- Save your calibration settings for future use.
Tip: Use design software like AutoCAD or LightBurn to create precise cutting paths. Group elements logically and avoid overlapping lines for best results.
Pendstar Laser’s advanced software, such as FSCUT3000S and XC4000 T2, streamlines setup and calibration, even for beginners.
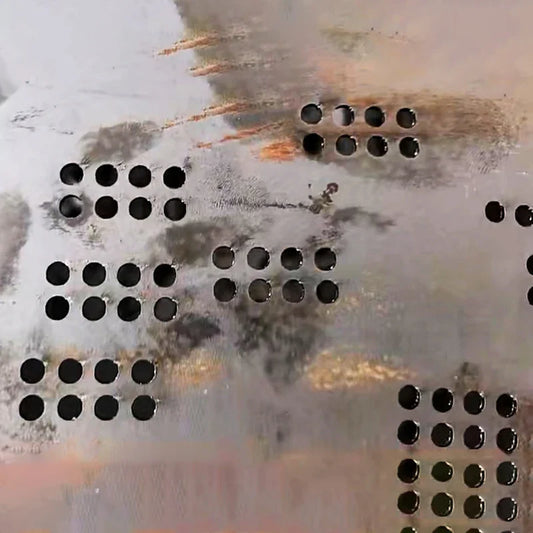
Testing
Before you start real projects, test your DIY laser tube cutting machine thoroughly:
- Secure a piece of scrap material on the machine bed.
- Run a simple cutting pattern to check movement and laser power.
- Inspect the cut for clean edges and correct dimensions.
- Adjust speed, power, and gas settings as needed.
- Check all safety features, including emergency stops and door switches.
- Repeat tests with different materials and tube shapes.
Pro Tip: Keep a log of your test results. This helps you fine-tune settings and spot issues early.
Pendstar Laser’s support team can help you troubleshoot problems during testing. You can also find helpful tips in their user community and documentation.
Cost-Saving and Upgrade Tips
- Start with manual chucks and basic motors if you have a tight budget. Upgrade to pneumatic chucks and servo packs later.
- Choose a frame size that fits your current needs, but leave space for future expansion.
- Invest in quality cooling and safety systems from the start to protect your investment.
- Use open-source software if you want to save on licensing fees.
Building a DIY laser tube cutting machine takes patience and attention to detail. With careful planning, quality components, and support from Pendstar Laser, you can achieve professional results at any budget.
Safety & Maintenance
Safety Practices
You must always put safety first when working with a DIY laser tube cutting machine. Start by making sure you and anyone else using the machine receive proper training. Only trained and authorized people should operate the machine. Always wear personal protective equipment, such as laser safety glasses, gloves, and masks. Choose glasses that match your laser’s wavelength for the best protection.
Operate your machine in a well-ventilated and well-lit area. Keep the workspace free of clutter and flammable materials. Use rigid laser enclosures or safety curtains to block stray laser beams. Install interlocked covers or screens to prevent accidental exposure. Keep a fire extinguisher nearby and never leave the machine unattended while it runs. Know how to perform an emergency shutdown if needed.
Tip: Good ventilation and fume extraction help reduce exposure to hazardous fumes and dust.
Routine Care
Regular maintenance keeps your DIY laser tube cutting machine running smoothly and safely. Follow a cleaning schedule for daily, weekly, and monthly tasks:
- Clean dust and debris from the work area, laser head, and optics every day.
- Inspect and clean mirrors and lenses with lens-safe solutions and lint-free cloths.
- Check and maintain the cooling system. Use distilled water and clean filters often.
- Lubricate guide rails and moving parts with silicone-based lubricants.
- Replace filters in exhaust and cooling systems as needed.
- Inspect and replace worn parts like belts, nozzles, and bearings during annual maintenance.
- Keep a maintenance log to track all tasks and replacements.
Plan for professional servicing once a year to check alignment, update software, and replace critical components. Use only recommended cleaning products to protect sensitive parts.
Troubleshooting
You may face some common issues with your DIY laser tube cutting machine. Here is a table to help you identify and solve them:
| Issue | Symptoms | Causes | Solutions |
|---|---|---|---|
| Cutting quality issues | Rough edges, uneven cuts | Dirty optics, low power, wrong speed | Clean optics, adjust power and speed |
| Laser head collisions | Head bumps into material | Incorrect diameter, low nozzle height | Measure material, adjust nozzle height |
| Piercing problems | Slow or inaccurate piercing | Wrong power or gas pressure | Adjust power, check gas settings |
| Power decrease | Reduced cutting ability | Laser wear, cooling issues | Service laser, check cooling system |
| Path deviations | Cuts do not match design | Software or mechanical errors | Update software, align mechanical parts |
Note: Prevent many problems by following a strict maintenance schedule and keeping your machine clean.
Building your own DIY laser tube cutting machine gives you control over cost, features, and upgrades. With careful planning and the right support, you can achieve professional results. You can find help from resources like OpenBuilds forums, build videos, and software tools. Pendstar Laser offers detailed documentation and technical support for every step. Start your project today and join a growing community of makers who share ideas and solutions. 🚀
- OpenBuilds: active forums, project showcases, and free software tools
- ChinaTechCNC: complete kits with guides and video support
- Xometry: design guides and expert advice
FAQ
How do you choose the right laser power for your project?
You should match the laser power to the thickness and type of material you plan to cut. For thin metals, 1kW works well. For thicker tubes, select 3kW or higher. Always check the material’s specifications before choosing.
What safety gear do you need when operating a DIY laser tube cutting machine?
You need laser safety glasses that match your laser’s wavelength, gloves, and a mask. Always use a well-ventilated workspace. Keep a fire extinguisher nearby. Never operate the machine without proper training.
Can you upgrade your machine later if your needs change?
Yes! You can start with basic components and upgrade parts like chucks, motors, or software as your skills grow. Pendstar Laser offers modular options, so you can expand your machine’s capabilities over time.
What materials can you cut with a DIY fiber laser tube cutter?
You can cut metals such as stainless steel, carbon steel, and aluminum. The machine also handles round, square, and rectangular tubes. For non-metals, use a CO2 laser instead.
Where can you find support if you run into problems during assembly?
You can use Pendstar Laser’s technical support, detailed documentation, and user community. Many makers also share tips and solutions on forums like OpenBuilds.
Tip: Always keep your manuals and wiring diagrams handy for quick troubleshooting.